Freezer paper stencils aren't
new to the craft scene, but Lindsay and I have been dying to give em' a whirl after we saw a blog feature on the technique, so we bought the materials and dove right in. The materials are simple, not intimidating and can be bought in one quick trip to the craft store and grocery store: freezer paper, fabric paint, paintbrushes, an iron, cardboard, an exacto knife and a variety of cloth material.
Ultimately, we dreamed up and drew {freehand} each of the images on the freezer paper, taking into account positive and negative space then cut out the image as a stencil. The stencil is ironed onto the material, the paint is applied and laid out to dry for an hour or less.
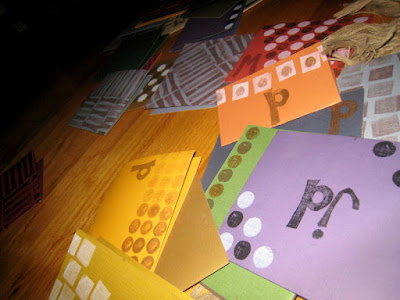
This was our first go round so we experimented with t-shirts from my closet, a few from goodwill and leftovers from our tie-dye soiree. We also put our mark on a few teeny-tiny baby-onesies and a set of goodwill place mats that Lindsay masterminded. The possibilities are endless and we have the dream of our own line of stencil clothing ready to roll...but we do dream alot!"handmade" + custom onesie for friend
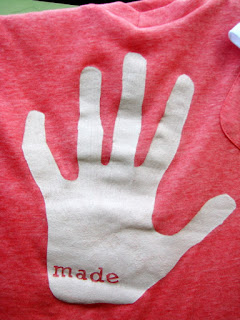
"handmade" detail {outline of LMc's hand & crooked pinky}
washtub bass detail {our favorite design!}
"tap water y'all" {faucet w/ text drip} + rooster onesie
"tap water y'all" detail
rooster detail
 four place mats
 place mat detail
{Lindsay perfected every groove of the fork & notch of the knife}

blue bird onesie
blue bird detail
"handmade" {outline of my hand} + washtub bass in cream on brown

We got lost in this craft and can't stop thinking and sketching new designs. For the first time whirl, it was a heckuva success. A few flubs and flaws and some stray marks to fix. But this is one craft we're hanging on to tightly. We're hoping to dive in to freezer paper paradise again this weekend for round two...stay tuned.


